Step-By-Step - CenterFlow Seed Boxes Nesting and Assembly
Did you know that the CenterFlow Seed Box collapses?

The CenterFlow Hopper Bottom container is a staple of the seed industry. Its smooth, funnel-shaped interior is ideal for seed and grain and pellets, resins, and powders. Constructed of high-density polyethylene plastic means that it will not rust, peel, or splinter while handling thousands of pounds per load. The 35-degree angle of the chute ensures a steady flow of product, and an adjustable slide allows the container to be emptied in as little as 30 seconds. What many people don’t know, though, is that they can also be collapsed.

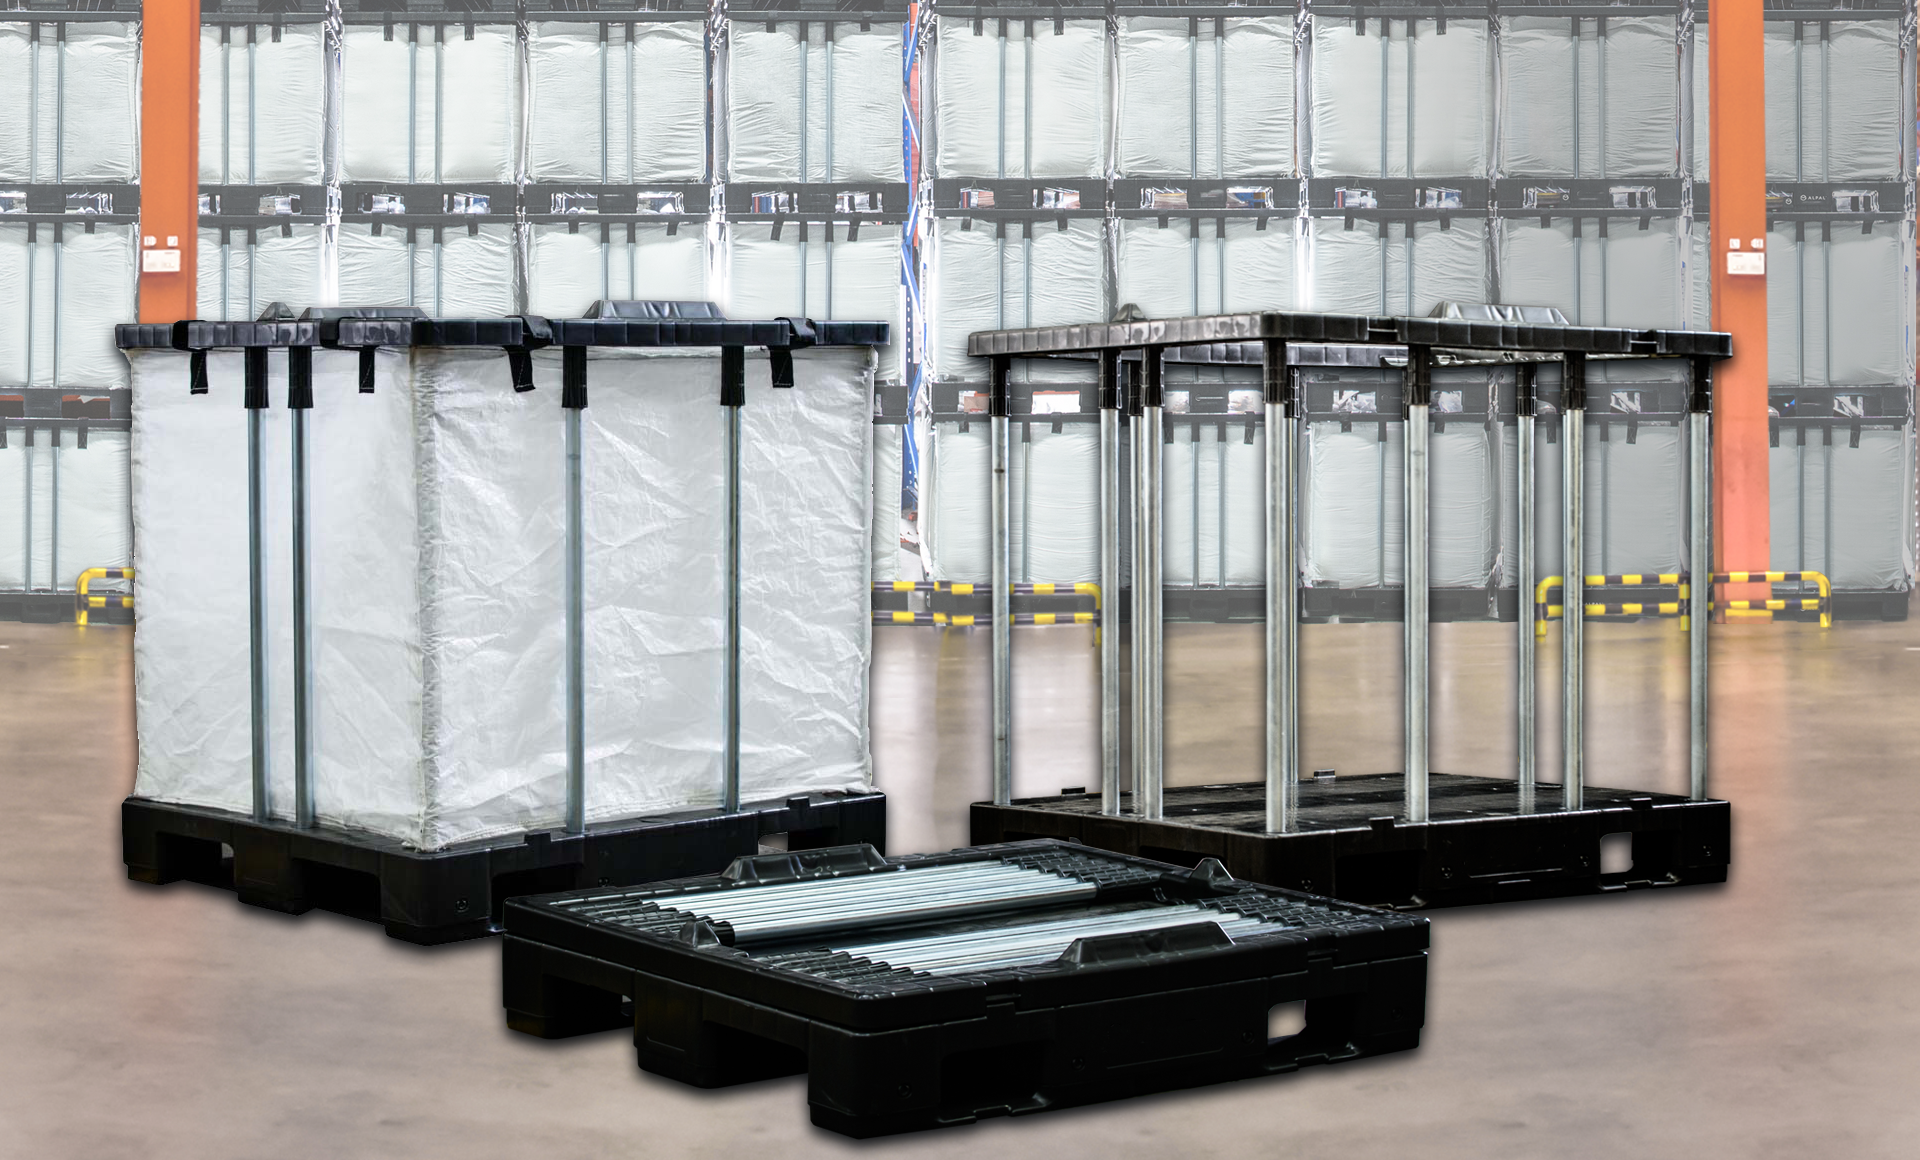
For the purposes of shipping or storage during the off-season, the CenterFlow Hopper Bottom can reduce its height to save up to 40% space. This helps to reduce the cost for them to arrive to you and increases the return ratio if you ship them in a closed-loop system. It accomplishes this feat in a way very different from standard collapsible bulk containers. The top half of the container is pulled away from the bottom, flipped upside down, and reattached over the bottom section, reducing the overall height while still allowing it to be moved with a forklift.

This means that when they arrive to you, that while they’ll be able to be moved with a forklift and unloaded from the truck, they will have to be assembled to use. Luckily, it isn’t too complicated, but you will need another person to help you get it into the correct position. When you remove the lid, you should see four crossbars running across the top of the opening, and the eight latches will be right below the top ledge. Straight down from the latches, you will find secure handholds at the top of the fork pockets. Utilizing these, you can lift the ring up and off the bottom section, separating the two pieces. With specialized forklift attachments, the process of assembling and nesting CenterFlow Hopper Bottoms can be safely and easily automated.

With the two parts disconnected, you have to rotate the ring around. There is another set of handholds at the top of this section, near the latches. These will help with the transition of the top half. Taking your time and being careful, pivot the piece, so the crossbars are on the bottom. Set the section, making sure to keep the long side with the long and short side with the short on the lower half. An indentation along what is now the bottom will sit over the base holding it in place.
The last thing to do is lock the eight latches, which will secure the top to the base. The lid can be placed back on top if needed. It is now operational and ready to be loaded. This same technique will work for the 65” and 74” versions.